Pages

Sunday, June 30, 2013

American Spirit!

Hello all....hope this Sunday finds you all well and rested and ready for whatever the week holds for you.
 I am thoroughly enjoying my summer break and am getting lots of things crossed off my To Do List! I love that feeling...:) Today I want to share my new July door wreath. I have been waiting all week to get to the store to buy a wreath form for this project. I (as many of you know) live in the country....most folks would refer to it as the boonies! If I need something like a wreath form, I have to drive a minimum of 30 miles to get one. So....needless to say, I don't just hop in the car and run pick one up.....I have to be patient and wait! Good thing I'm a patient person by nature (remember I'm a teacher) so this isn't too difficult for me....most of the time!

For this project, the only thing I had to buy was the form. I had everything else on hand. I went with this durable foam wreath form for a reason. I can attach the items to it with straight pins so they can be easily removed and interchanged. 

For this project, I used:
burlap ribbon
foam wreath form
tags (from Pick Your Plum)
baker's twine
scrapbook paper
felt
rhinestone stars
chambray denim 
jute
ribbon
batting
straight pins

You can see some of the supplies in the photo collage below.


I cut the wide burlap ribbon in half and wrapped it around the wreath overlapping as I went. I used straight pins to attach it on the back. Super simple!


Everything is attached to the wreath form with straight pins. 


The mini bunting was made by cutting triangles of scrapbook paper, hole punching them, and stringing them on a piece of jute. 


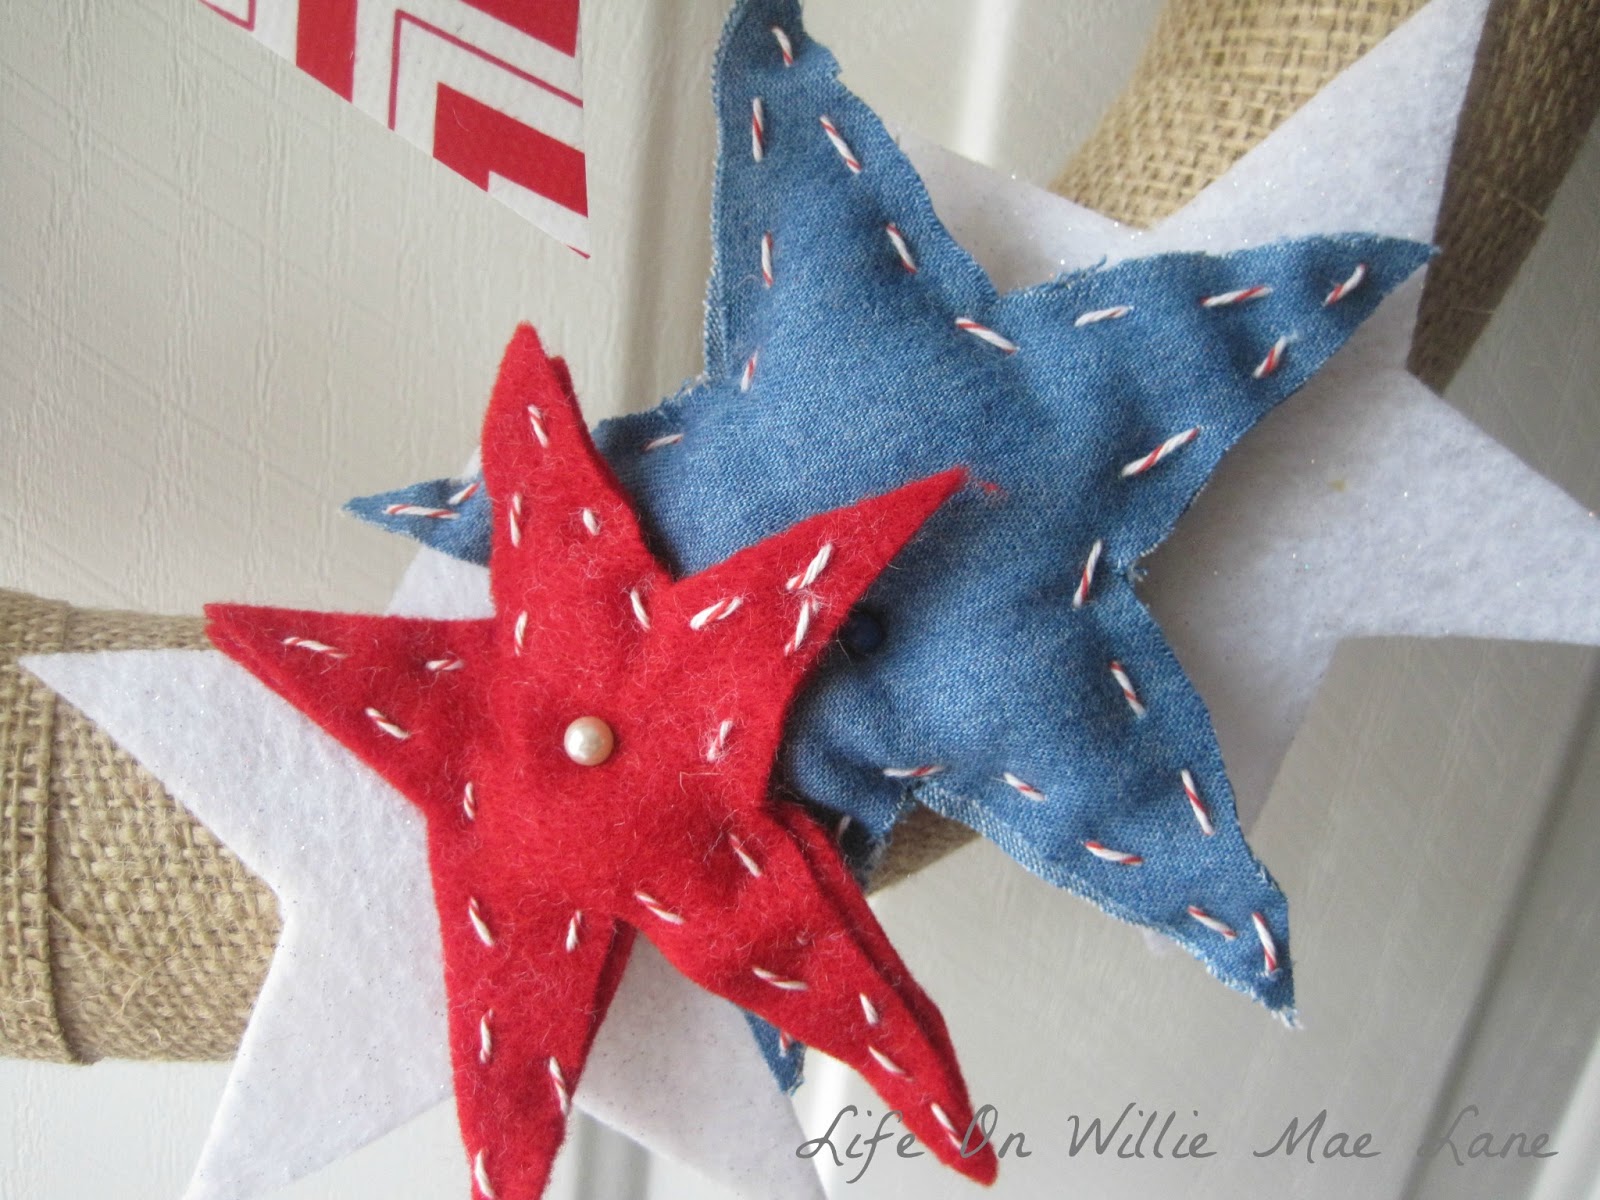
 I cut two of each color star and placed the white ones flat behind the red and blue. I hand stitched the edges of  the red and blue ones with baker's twine and stuffed them with a tiny bit of batting. The red and white ones were cut from felt and the blue from some scrap chambray denim from my stash. I like all the different textures on the wreath.


To make the tags, I painted the centers and edges blue, braided some red and white bakers twine to form the letters, and glued on some rhinestone stars. This was my first attempt at making any type of tag. I hope I made my friend Donna proud...:)


I love how it pops on my white door....:) 


And one last photo....just because!


I just love how it turned out! I am already thinking about how to decorate it for August. I'm thinking since I'm a teacher, I will probably do a back to school theme....apples, pencils, abc's and 123's! We shall see...:)

Another simple project from the weekend was changing my tablescape. This was just a little busy for the table, so I moved it to the buffet after I organized it the other day. I added the crepe paper bunting I found in my school decor over the buffet as well. I like it much better here...:) 


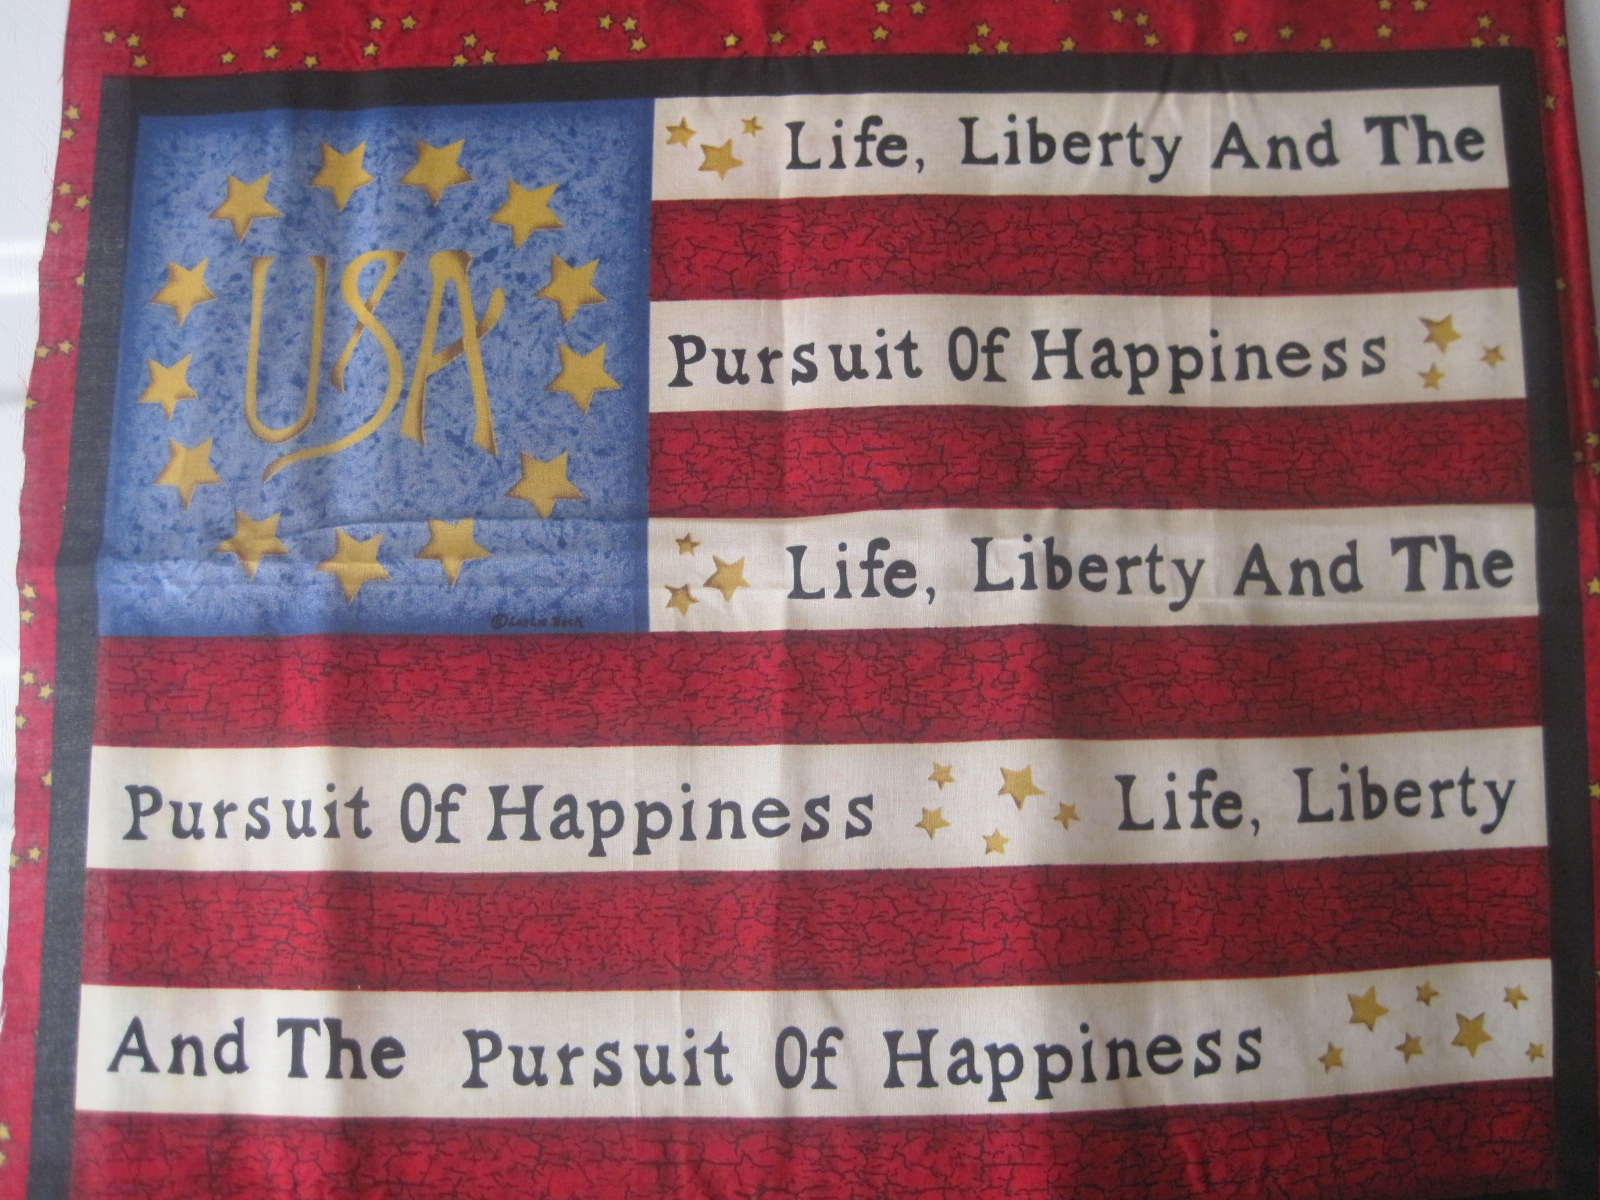
I still wanted to show my American spirit on the table, but in a simpler way. I layered my two favorite runners, added a white ironstone pitcher, a red glass candlestick  and candle I decorated with scrapbook paper and ribbon, a small silver platter topped with a red, white, and blue stained glass frame, and a couple mercury glass votive holders, and called it done! I purchased a few silk flowers last night when I bought the wreath form and added them to the white ironstone pitcher to complete the table. 
Here is how it turned out.


Simple scrapbook paper covered candle.


I love this little frame I bought several years ago when my son finished 5th grade and we went to Washington DC for a field trip. It usually has a photo of  the two of us in it from the trip...:)


One more shot...I like this much better. 


So, what have you crafted lately? I have lots of projects I hope to get to this summer! I am hoping to do something with my cute little ironing board I thrifted a few weeks ago. That's on my list for this week, along with a couple other projects. I hope I can share those before I leave for Pennsylvania. Speaking of that....if you are interested in guest blogging for me while I'm away, please go read this post!

I'm linking up with Marty for


Kathe for

Hop on over and check them out!

Thanks my friends for stopping by! Enjoy the rest of your Sunday...:)

Until next time.....;

Friday, June 28, 2013

Organizing My Drawers!

Hello and Happy Friday! 
Today I am sharing a little organization post with you. I started this project Wednesday evening and finished last night. I was gone most of the day yesterday or would have finished sooner. And...as usual, I forgot to take a before photo of my buffet drawers, but the first photo below shows a lot of the stuff that came out of the drawers piled on my table\. I had just been cramming things in them and they were stuffed to overflowing. I had also been using one of my yard sale finds to store the overflow, but both of them needed to be cleaned out and organized. The second photo shows the yard sale cabinet.


I took everything out and switched some things around and had enough room to store the set of white china I bought a few months ago as well.  Here are the after photos.  First up are the left side drawers in the buffet. The top drawer holds tablecloths and runners. The middle one holds ice cream dishes, and the bottom drawer holds different types of trays.


The middle set of drawers hold place mats, serving pieces, and large glass platters.


The right side drawers hold napkins and rings, vases, and miscellaneous decorative pieces.


Much more organized! I do plan to either replace the buffet with a different one some day or paint this one. I have put off painting my larger furniture pieces until I am able to renovate the floors and walls in each room. Right now my walls are a really ugly creamy colored wallpaper covered sheet rock....typical of older mobile homes. I haven't painted because I want to gut each room and replace the walls with bead board and new sheet rock in some areas, as well as some board and batten. I also want my walls to be painted white to look fresh and clean and make a nice backdrop for my wood furniture which I plan to paint. We will also be replacing all the old carpet with new laminate. I can't wait, but I am trying to be patient until we can get to it and making the best of what I have to work with...:) I know God wants me to be content with what I have and He will bless me with what I want in His timing...:)

Here is the inside of the yard sale cabinet. It holds a lot! The top shelf holds candle holders, the middle shelf holds some plates and bowls along with some more candle holders and silk flowers. The bottom holds my set of white china as well as a set of fall & spring dinner plates. I want to put a fresh coat of  white paint on this little cabinet eventually. I also want to put bead board on the back and paint it a pretty color...maybe aqua, yellow, or green.


After I finished this project, I decided to work on tweaking all my junk...I mean treasures in my little library area. It is quite cluttered now, but again, I have big plans for this small space. Eventually the wall that holds big bookshelf  will be covered in built-in bookshelves from floor to ceiling. I can't wait! I'm so tired of all the brown! I am ready for light and bright! Anywho, you can see what this space looked like before I tweaked it here. I had to move the chairs a while back because my son kept kicking his toes on them when he walked to his room. Here is what it looks like now.....


You can read how I recovered the chairs and ottoman here and here.


Here is the $5 yard sale cabinet I mentioned earlier in this post! It was a great investment! I love how the vignette on top turned out as well.


I love the colors of these old books. I also love my pewter horse head bookend I bought a a flea market a while back. I'm still debating on painting him. I think I will one day! Next to the horse head is an old ink bottle and my husband's late grandfather's pocket watch hangs in the cloche in front. A pretty teacup and saucer and vintage silver trinket box finish off the space.


On each side are two large apothecary jars I have had for about 25 years. They were given to me by an old friend of my hubby's family and she had them for years before that. I love the size and they are very heavy glass. Look at the pretty detailing on the lid. This one holds loose change. When it is filled, we will roll it and cash it in. Maybe use it for a small home project. A tile quote and a small, old insulator round this side off. Love the color of the insulator!


The left side jar holds my son's old marble collection. He had some really pretty ones that I couldn't bear to part with. I'll have grands to play with them some day! Also on this side are several old bottles that my Granny Pauline dug up herself. She loved to dig for treasures and had a huge collection of old bottles and arrowheads. You can see several of the old bottles here. The tall aqua colored one with the stopper is a favorite as well as the white one!


I am so looking forward to a Girl's Night Out with my besties tonight! We are doing a little shopping, going to eat at Outback, and then going to see The Heat. Sandra Bullock and Melissa McCarthy are my two favorite actresses and I am sure together they are a hoot! Looking forward to shopping, eating, chatting, and laughing with this awesome group of ladies...:) 

Well, I better get up and get busy! I have more projects on my Summer To Do list! 
Oh....just in case you didn't see it, please go read this post if you might be interested in guest blogging for me! I would appreciate it greatly...:) Thanks to the ladies who have already contacted me...I am so grateful!
Y'all have a wonderful Friday!
Until next time.....

Thursday, June 27, 2013

Be My Guest!


Source
Hi friends! I have a favor to ask....:) I will be leaving on a trip to Pennsylvania on July 6th and will be gone until the 13th or 14th. I would love if a few of you would be guest bloggers for me while I am gone. My daughter gave me the idea....she is going with me and she has guest bloggers for her blog for each day we will be gone. I told her I wasn't sure if I was tech savvy enough  to do this, but she assured me I could do it if I just have you all e-mail me your post and pix and I put them on blogger. So....I thought, what the heck, I'll see if any of my blogging buddies are interested and go from there! As soon as I started considering the idea, the Be Our Guest song from Beauty and the Beast started running through my head. Beauty and the Beast is my all time favorite Disney movie! I thought I would share the song with you if you care to view it and listen. 


  I may have the opportunity to post once or twice while I'm away, but I am not sure, so I would love to have you blog for me! I don't care what topic you choose because if you know me very well, you know I just blog about whatever strikes my fancy that day....:) If you would be interested, please leave me a comment and let me know and I will get in touch with you! 
Thank you for visiting and for your consideration in guest blogging for me! I appreciate each of you...:)
Until next time.....

Wednesday, June 26, 2013

A Little Red, White, & Blue!

Happy Wednesday everyone....or should I say Happy Rednesday! I've been wanting to link up with Lil for Rednesday for a few weeks now and finally got the chance! Today I'm sharing my dining room table decorated for the 4th of July (one of my favorite holidays)! I started by clearing everything off  the table and then I started brainstorming! I really don't have much in the way of Americana decor, so I had to get creative. First, I remembered dragging home a box of Americana themed items I used in my old first grade classroom. I had my son go to the shed with me to find it and drag it out! It contained mostly bulletin board items, but I did find a couple things I could use....which you will see in a bit! First I want to share the candle holders I spruced up in a little red, white, and blue! Here is what I started with. The vases were left over from my son's graduation party and came from the Dollar Tree. I scrounged through my scrapbook paper and was thrilled to find this blue star paper along with some red and white. The denim is an old dress from my scrap pile that I used to make some stars.


First, I cut the white sheet of paper in half and then cut strips of red with my paper cutter.


I used a glue stick to glue the red stripes on the white paper.


I then taped one end to the vase and wrapped it around.


It is taped together for easy removal. By the way, I am a tape snob....it has to be Scotch brand....period! I am an office supply snob in general.....it's the teacher in me! LOL! The stripes don't line up perfectly on the back but  that's ok!


Next, I cut a strip of the blue sparkly star paper and taped it the same way around the top of the vase.


 Here is the final product. Not bad for free! Sorry about the quality of these photos. My camera has been acting crazy lately!


The blue star you see the candle holder sitting on was cut from the denim scrap you saw earlier. I stuffed it in a $1 stuff a bag sale at one of my favorite consignments a while back and knew it would come in handy some day! Here is a photo of the star. I cut three of them.


I placed them on top of my red and white checked table runner (a Goodwill find from several months ago) and started playing around with what to place on top. I used several of my milk glass vases again. They are so versatile. I had some paper stars in my box of old classroom decor that I put to use as well.


I also had a little of this wired star garland that I used in a couple of the vases. 
They remind me of fireworks!


Also in my box of school stuff I found this adorable teddy bear. I had forgotten all about him! I think one of my kids won him in one of those skill crane games years ago. Anywho, he fits perfectly in my Little Red Racer wagon that I borrowed from another area of the house. There were a couple paper flags in the box so I taped one to one of my red and white paper straws for the teddy to hold.


Here are a couple shots of the whole table. 
This runner is really long and completely covers the length of my table. 


My dining room is small and it is difficult to get a good shot of the table. Sorry about the glare...the sun was shining when I took this a little while ago. Florida has crazy weather though and now it's raining!


So, what do you ladies think? I know it's simple but I was working with what I had. I think it turned out pretty cute and it will do for now. 


While I was digging through stuff, I did come across this fabric that I had forgotten about. I am thinking of turning it into place mats. They wouldn't look good with this table decor because of the colors, but I may make them for next year. There are two different styles and I have 6 total. They would be a little larger than traditional place mats, but I think they would work well.


I have one like this hanging in my classroom near the flag. My mom quilted it for me years ago...:)


Well, I hope you enjoyed my 4th of July decor! Be sure to hop on over to Lil's blog, Cottage Sweet Cottage and check out all the red being linked up today!

Cottage Sweet Cottage

I'm also linking up with Diann and Linda for Thrifty Things Friday...:) Be sure to check them out as well!

 I love using what I already have and creating something unique. Have a blessed afternoon my friends and as always, thanks for stopping by!

Until next time.....

Recent Posts.....